Snow Clay
How to Make Snow Clay
Materials Needed:
- 2 Cups of Baking Soda
- 1 Cup of Corn Starch
- 1 1/2 Cup of Cold Water
- 3-5 Drops of Peppermint Extract
Steps of the Activity:
- Combine all ingredients in a large pot.
- Place the pot uncovered over medium-high heat and stir constantly. (Get help if needed)
- It will not take long for the clay to form, but remember - it must be stirred during the entire cooking process.
- First, the ingredients will bubble, and then the liquid will turn more clay-like. Continue to stir the ingredients until you have the consistency of mashed potatoes.
- Then, remove the pot from the stove and spoon the dough-like mixture into a large bowl.
- Place a damp cloth over the bowl and allow the clay to cool for 20- 30 minutes.
- Once cool, remove the clay from the bowl and knead it with clean, dry hands.
- If the clay is at all sticky, add a bit of corn starch and knead it in.
- As the clay is kneaded, it will become smooth and pliable, giving you the perfect snow clay!
TIP:
- To make your snow clay is cold, store it in the fridge in an air-tight container for a few hours before play.
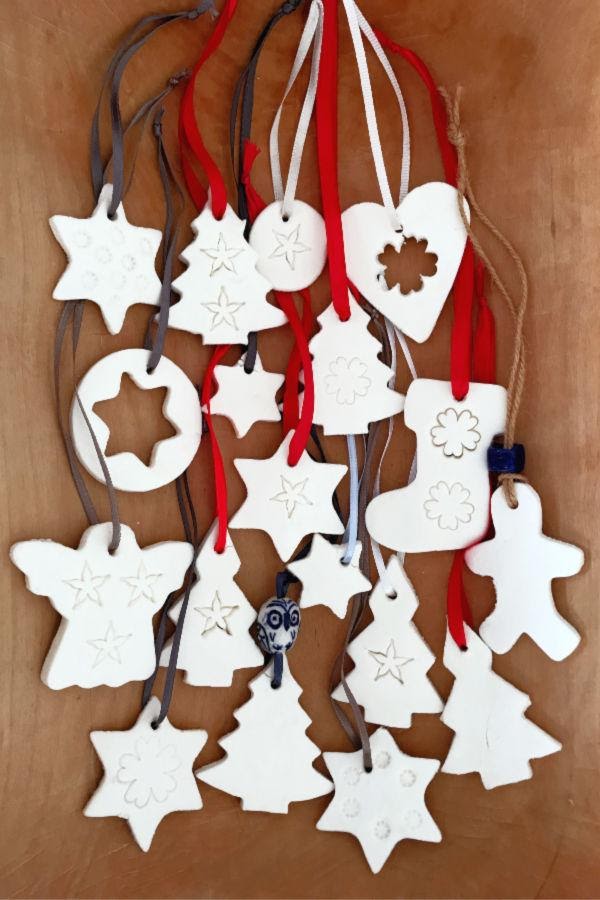
- If you are making ornaments don't forget to pierce a hole in them before leaving them to dry.
- It may take 2-3 days for your clay creation to air-dry.
- For faster drying, bake creations in the oven at 200 degrees for 10- 15 minutes.
More about this activity/Source: Snow Clay Recipe